We finally have a little freezer for the garage so I can start filling it with food so (hopefully) I wont be going to the store twice a week anymore! WOO! HAHA
So Im on the hunt for freezer meal ideas so I can make the food ahead of time and then its just quick heat up and BAM dinner! Which I think will make for a much happier toddler and mommy :) Somebody likes to scream bloody murder the second he gets hungry which makes for a cranky mommy! So here is my solution. I'll share all the tips and tricks I come up with along the way and here us the first one! Its a long one but very detailed. Wish me luck!
Wednesday, June 25, 2014
Tuesday, June 24, 2014
Another awesome Oil idea!
click here to view this blog
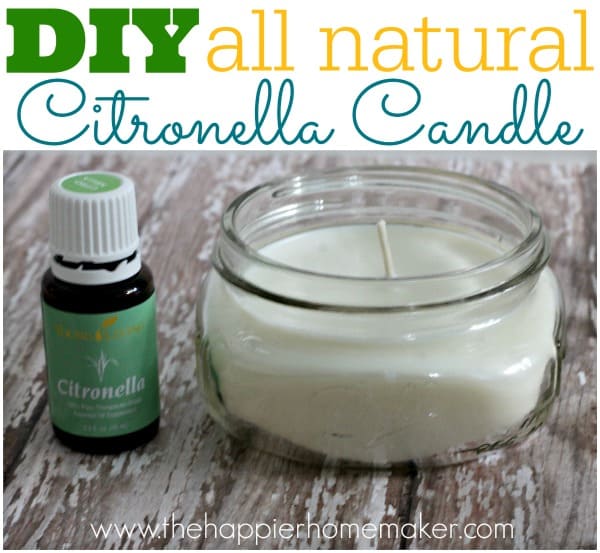
I’ve already shared with you all the 7 plants that repel mosquitoes but in case that post didn’t convince you how truly anti-bug bite my stance is, I’ve got a backup defense today that’s actually a pretty fun and cute craft-DIY Citronella candles.
Supplies:
- mason jar-size of your choosing
- smokeless candle wicks
- flaked soy wax
- Young Living Citronella Essential Oil
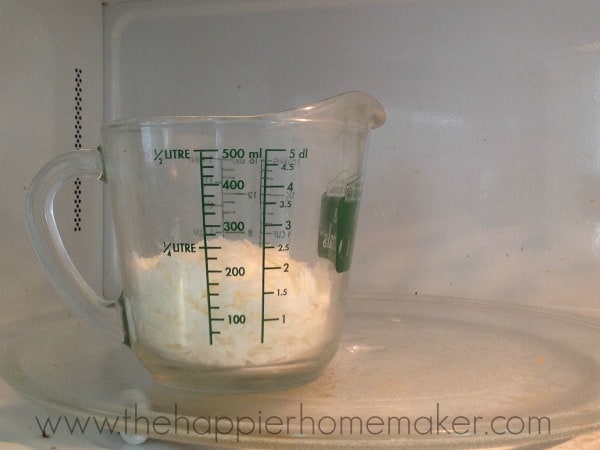
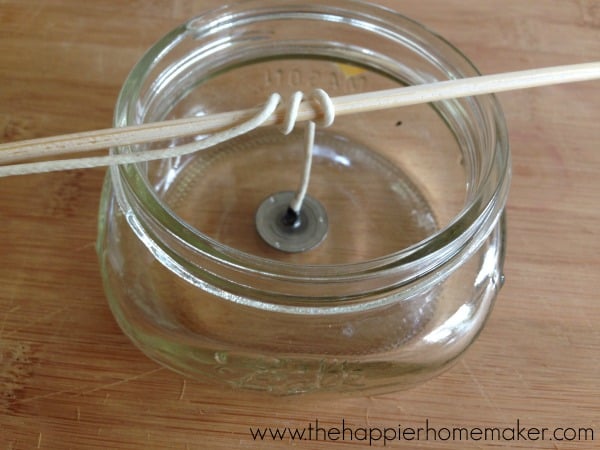
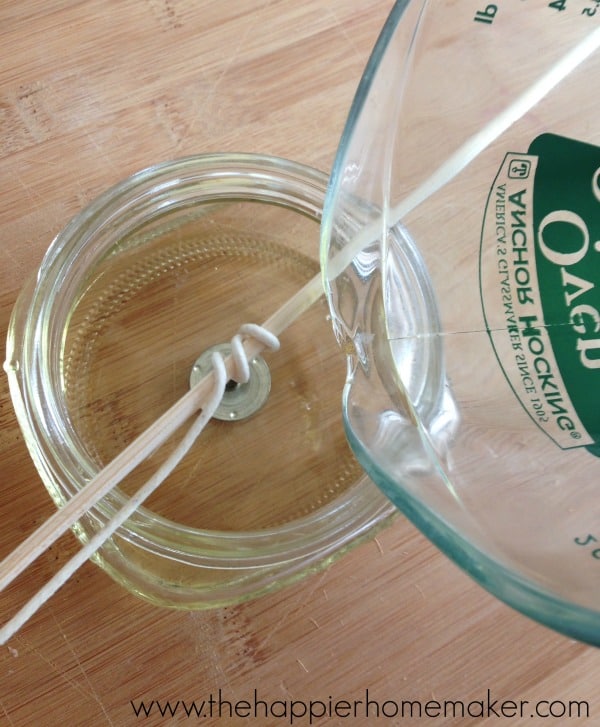
While your wax is melting prepare your wick by placing it on the bottom center of the jar and wrapping any excess around a skewer or pencil balanced on the top rim of the jar. This keeps your wick in place while your wax hardens.
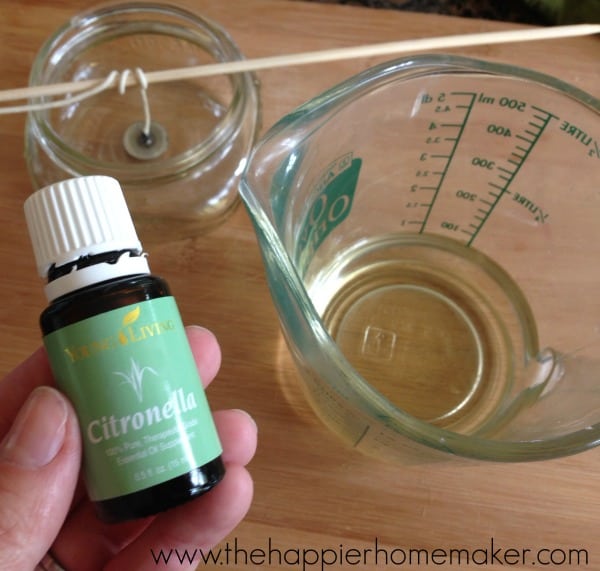
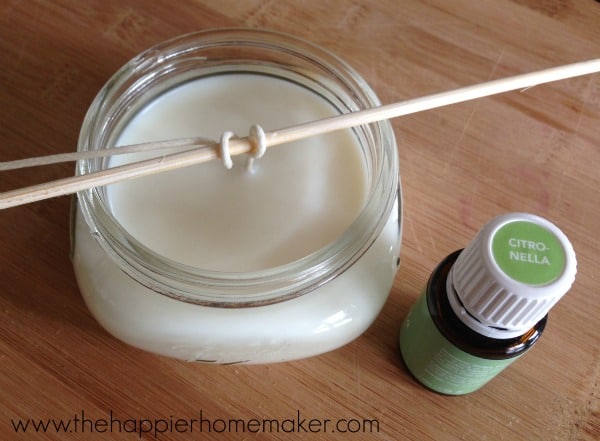
When wax is fully melted add 10 drops per cup of Young Living Citronella Essential Oil-as always, I only recommend Young Living oils because of their purity and high level of quality…read more here.
Carefully pour the wax into the candle mold. If the wick gets disturbed put it back in place before the wax cools.
Allow the wax to dry undisturbed for 4-5 hours or until firm.
Trim the wick and light that baby up! I think you’ll be pleasantly surprised how well these all natural candles repel insects over store bought ones, many of which don’t even contain citronella oil but rather citronella fragrance. Boo!
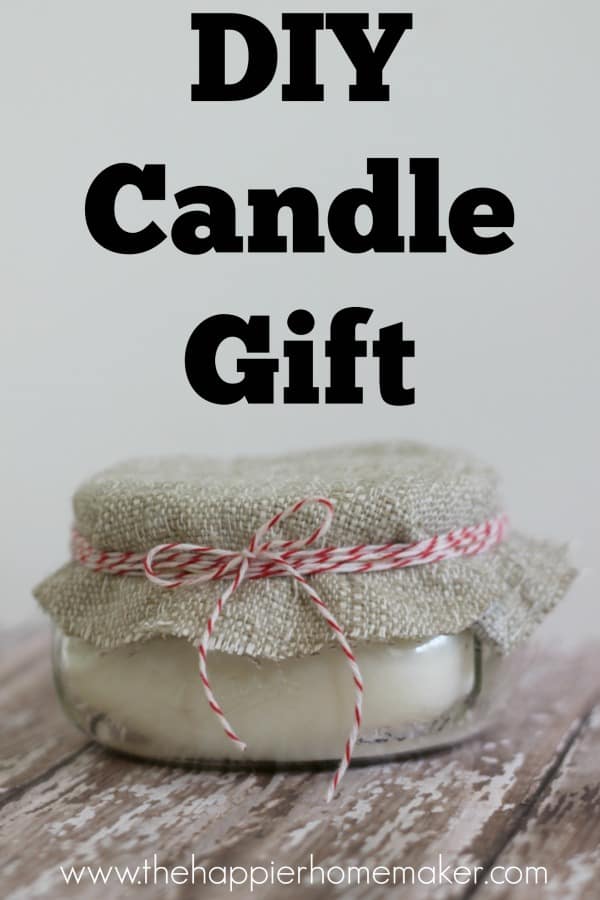
The fun thing is you can easily make any kind of scented candle you want by replacing the citronella with other essential oils (again, I don’t recommend any brand other than Young Living for this!) Add some pretty fabric and bakers twine and you have a perfect hostess gift or even a candle wedding favor!
Am I the only one with a multi-pronged mosquito defense plan? Tell me I’m not!!
Monday, June 23, 2014
Ugh Monday
Today is such a monday! Last Monday at work but JEEZ! Stuff isnt working, company not being coopertive, and just yucky out. BLEH! Trying to get things set up for when Im not here anymore and it is really not working out for me. Hopefully the little man is having a good day at daycare so he is in a good mood tonight. Still very sad to be taking him out of daycare, but wouldnt make a lot of sense for me to be home and not watching him right? LOL Maybe I can pass the day a little more quickly by doing some more oil research. (I did find out my commissions today and SUPER HAPPY about that! I LOVE YOUNG LIVING!!
Alright better get back to work. tootles
Alright better get back to work. tootles
Friday, June 20, 2014
Colin is doing fabulous at PT
Colin and I both had PT today. I am complaining now after and he is sleeping. Guess that means he is working hard! When i got there he was balancing on a little plastic stepping stone type thing. too cute. Of course as soon as Dad and I walked in he could care less about PT he was just all sorts of excited for no reason! haha
I am going to rub some PanAway on my shoulders and get back to work. Only 4 days after today! WOO!!
I am going to rub some PanAway on my shoulders and get back to work. Only 4 days after today! WOO!!
Super awesome bath fizzies!
I stole this from a blog i found and here is her link
I am so in love with taking long hot baths right now! It all started with the simple detox bath recipe I posted a while ago, and ever since then I’ve been experimenting with new bath ideas and enjoying one or two a week. It has been fabulous!
One of my favorite bath accessories is the bath fizzy. Not only do they make your bath smell nice, but watching them fizz up in the water is fun too.
When I came across a pin on Pinterest of a recipe for DIY bath fizzies on Martha Stewart’s website I knew I had to try it. I totally bombed my first effort and the fizzies fizzed up on me before I could even get them into the mold, but the second attempt was a complete success! And look how adorable they are!
 Don’t be fooled by my failed first attempt; making your own bath fizzies is really easy. I ruined the first batch because I added too much water (the original recipe didn’t have many details, so I was guessing). But I made sure this tutorial is pretty detailed, so if you follow these instructions you should be just fine!
To make your own bath bombs you need:
The first thing you should do is put down some sort of cover over your work area. I didn’t realize how big of a mess this would make before I started, and you can see what happened!
 Mix the baking soda, cornstarch, and citric acid together in a mixing bowl. Use a strainer here to remove any clumps if you have them. Stir in the Epsom salts and mix well. The combination of citric acid and baking soda is what fizzes when water is added, so from this point on be very careful to keep your hands dry, your mixing spoon dry, etc.
Add about 15 drops of essential oil to the salt mixture for fragrance. The oil won’t make the mixture fizz, but be careful to mix it in well immediately. You can change the amount of oil here depending on the scent and desired strength (i.e. lemon is a stronger scent than lavender, so use less). 15 drops of lavender oil makes the actual bath fizzy itself smell very strongly, but when you add it to an entire bathtub full of water the scent is very very light. You can add more essential oil if you want a stronger scented bath.
The final step before packing the mixture into the molds is to add the coloring and a little bit of water to make the mixture packable, and this is where I messed up the first time, so pay attention here. You color your bath bombs by putting water and food coloring into a spray bottle and lightly spritzing the mixture while stirring it in until it is the color you want. I had two different problems here. First, my food coloring to water ratio was very diluted, and second, I added too much water to the salt mixture in an effort to get the color dark enough. It basically turned my entire bowl of stuff into one giant bath fizzy that wouldn’t stop fizzing and expanding as I tried to pack it into the molds. Woops!
The first picture below is the one I had messed up. It wasn’t completely fizzing at this point, but about a minute later it started expanding (kinda like bread rising) and you can see how much more “crumbly” it is than the bottom picture. What you want is a very slightly moist and sandy mixture with maybe a few crumbs (like the bottom picture).
 So here’s what you should do to avoid the mistake I made: Mix 6 drops of food coloring per tablespoon of water in your spray bottle (don’t just pour colored water in or it will fizz up on you). Lightly spray the food coloring into the salt mixture, stirring constantly. You’ll get tiny bubbles and little bits of fizzing here, but that’s okay. Just stir constantly and thoroughly and you’ll be fine. Continue spritzing and stirring until the mixture is wet enough to pack into the molds, but not so wet that it gets crumbly or fizzy.
Once the mixture is ready to go, spoon it into your ice cube trays, filling to the top. Press it down a bit; I used a piece of saran wrap to keep it from sticking to my fingers and I used my thumbs to compact it. Pack it down, but not too firmly; it still needs some air in there so it dries properly. Keep packing and filling your trays until the salt mixture is gone, and that’s it!
Let your bath fizzies dry for at least 24 to 48 hours before gently removing them from the trays. 48 hours is better if you can wait that long, they will hold their shape better. The square bath bombs popped right out after 24 hours without much hassle, though the bottom of the fizzy was still slightly wet. I just turned them over on a plate and let them dry overnight again. The octupus-shaped ones weren’t quite dry after 24 hours and I was worried the legs would break off, so I let them sit for 48 hours and they turned out fine!
 Toss two of these bad boys into a bath and enjoy! And if you’re making them as a gift just put them in a pretty bag and they’re ready to go. Or a pretty box, or a pretty tin, or whatever.
Have you ever made your own bath bombs before? I never even knew you could do this!
I used Young Living’s lavender essential oil, which is probably my favorite of all the ones they make; it’s so versatile! It helps heal chapped, dry skin, minor burns, and itchy bug bites, and it’s great for helping you relax, so I knew it would be great in these little bath bombs! Check out all the other things lavender essential oil can do!
I am so in love with taking long hot baths right now! It all started with the simple detox bath recipe I posted a while ago, and ever since then I’ve been experimenting with new bath ideas and enjoying one or two a week. It has been fabulous!
One of my favorite bath accessories is the bath fizzy. Not only do they make your bath smell nice, but watching them fizz up in the water is fun too.
When I came across a pin on Pinterest of a recipe for DIY bath fizzies on Martha Stewart’s website I knew I had to try it. I totally bombed my first effort and the fizzies fizzed up on me before I could even get them into the mold, but the second attempt was a complete success! And look how adorable they are!
To make your own bath bombs you need:
- 1 C baking soda
- 3/4 C cornstarch
- 1/2 C citric acid (This is sometimes hard to find at a regular grocery store; I found it at Whole Foods)
- 1/4 C Epsom salts
- food coloring
- Young Living lavender essential oil (learn more about essential oils here)
- a small spray bottle
- ice cube trays or candy molds (You should use soft silicone trays if possible, it makes the bath bombs easier to remove at the end. I got these adorable octopus ice cube trays at Bed Bath & Beyond)
The first thing you should do is put down some sort of cover over your work area. I didn’t realize how big of a mess this would make before I started, and you can see what happened!

Add about 15 drops of essential oil to the salt mixture for fragrance. The oil won’t make the mixture fizz, but be careful to mix it in well immediately. You can change the amount of oil here depending on the scent and desired strength (i.e. lemon is a stronger scent than lavender, so use less). 15 drops of lavender oil makes the actual bath fizzy itself smell very strongly, but when you add it to an entire bathtub full of water the scent is very very light. You can add more essential oil if you want a stronger scented bath.
The final step before packing the mixture into the molds is to add the coloring and a little bit of water to make the mixture packable, and this is where I messed up the first time, so pay attention here. You color your bath bombs by putting water and food coloring into a spray bottle and lightly spritzing the mixture while stirring it in until it is the color you want. I had two different problems here. First, my food coloring to water ratio was very diluted, and second, I added too much water to the salt mixture in an effort to get the color dark enough. It basically turned my entire bowl of stuff into one giant bath fizzy that wouldn’t stop fizzing and expanding as I tried to pack it into the molds. Woops!
The first picture below is the one I had messed up. It wasn’t completely fizzing at this point, but about a minute later it started expanding (kinda like bread rising) and you can see how much more “crumbly” it is than the bottom picture. What you want is a very slightly moist and sandy mixture with maybe a few crumbs (like the bottom picture).

Once the mixture is ready to go, spoon it into your ice cube trays, filling to the top. Press it down a bit; I used a piece of saran wrap to keep it from sticking to my fingers and I used my thumbs to compact it. Pack it down, but not too firmly; it still needs some air in there so it dries properly. Keep packing and filling your trays until the salt mixture is gone, and that’s it!
Let your bath fizzies dry for at least 24 to 48 hours before gently removing them from the trays. 48 hours is better if you can wait that long, they will hold their shape better. The square bath bombs popped right out after 24 hours without much hassle, though the bottom of the fizzy was still slightly wet. I just turned them over on a plate and let them dry overnight again. The octupus-shaped ones weren’t quite dry after 24 hours and I was worried the legs would break off, so I let them sit for 48 hours and they turned out fine!

Have you ever made your own bath bombs before? I never even knew you could do this!
I used Young Living’s lavender essential oil, which is probably my favorite of all the ones they make; it’s so versatile! It helps heal chapped, dry skin, minor burns, and itchy bug bites, and it’s great for helping you relax, so I knew it would be great in these little bath bombs! Check out all the other things lavender essential oil can do!
Wednesday, June 18, 2014
tick tock tick tock
time is going by SO SLOW! is it the 27th yet? Im ready to be done with my day job. CANT WAIT to be a stay home mommie :) 5 work days left!! Then we have the 4th of July and Heritage days so its going to be a busy few weeks for my first weeks at home. very excited tho!
Tuesday, June 17, 2014
I QUIT!
Subscribe to:
Posts (Atom)